
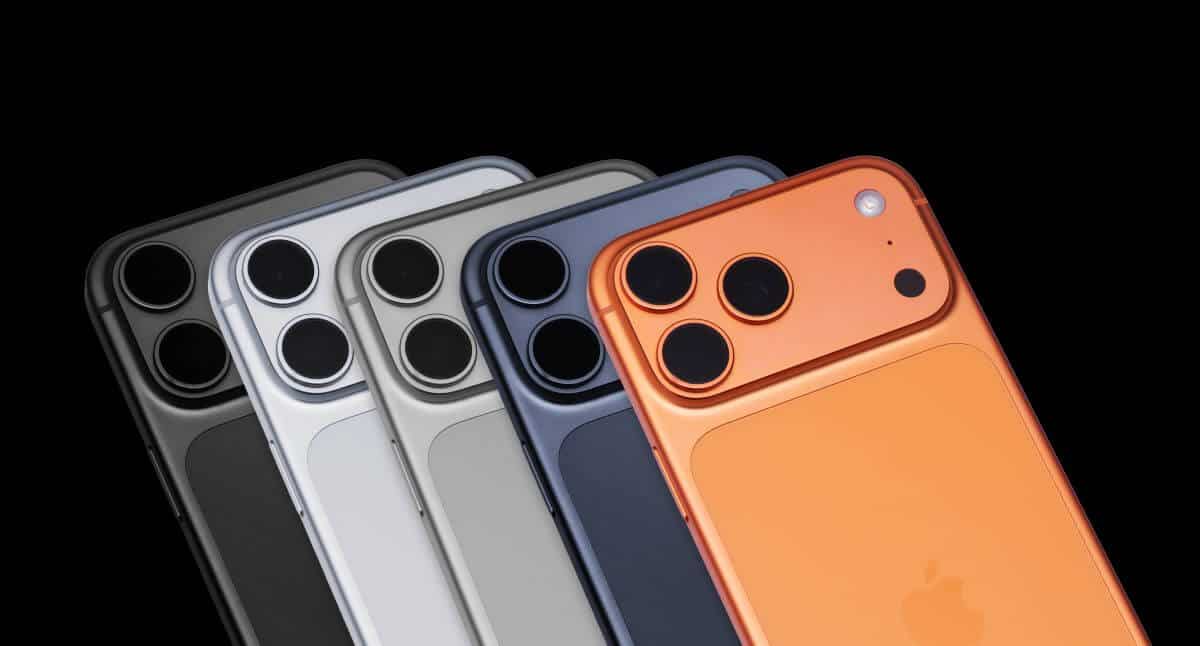
Quick answer: how do you take better iPhone photos?
To take better iPhone photos, clean the lens, turn on the grid and level, use natural light where possible, tap to focus, adjust exposure before shooting, avoid unnecessary digital zoom, and choose the right mode for the subject. Use Portrait mode for people, Night mode for low light, Burst mode for action and Macro mode for close details on supported models.
Apple’s iPhone camera tools guide explains that you can manually adjust focus and exposure, use a timer, change aspect ratio, and turn on the grid and level to help compose and straighten shots.
Best iPhone camera settings to start with
| Setting or tool | Best use | Simple recommendation |
|---|---|---|
| Grid and Level | Straighter horizons and better composition | Turn both on in Settings > Camera. |
| Tap to focus | Portraits, food, products and close subjects | Tap the main subject before taking the photo. |
| Exposure control | Bright skies, windows, sunsets and backlit scenes | Drag exposure slightly down to protect highlights. |
| Portrait mode | People, pets and objects with background blur | Use when the subject is clearly separated from the background. |
| Night mode | Low-light scenes | Hold still or use a tripod for cleaner results. |
| Burst mode | Children, pets, sport and movement | Use short bursts, then keep only the best frame. |
| Macro mode | Flowers, food, textures and small details | Move close, then back up slightly if the image looks soft. |
| ProRAW | High-quality editing on supported Pro models | Use selectively because file sizes are much larger. |
1. Clean the lens before you shoot
This is the simplest iPhone photography tip and one of the most important. Your phone spends the day in pockets, bags, hands and on tables, so the camera lens easily picks up fingerprints, dust and grease. A smudged lens can make photos look hazy, soft or low contrast.
Before important photos, wipe the lens gently with a clean microfibre cloth. Avoid using clothing with grit on it, as that can mark the lens cover. On some supported models, iPhone can also detect lens smudges and suggest cleaning the lens; Apple describes this in its advanced camera settings guidance.
2. Turn on the grid and level
The grid helps you compose more deliberately, and the level helps stop horizons, buildings and tables from tilting by accident. To turn them on, go to Settings > Camera, then enable Grid and Level.
Use the grid to place your subject slightly off-centre, line up doorways or windows, and keep vertical lines tidy in architecture shots. Use the level when photographing landscapes, flat lays, food, artwork, documents or anything where straight lines matter.
3. Use light before you use settings
Light matters more than any camera mode. If the light is poor, the iPhone has to work harder, and the image may show noise, motion blur, harsh shadows or washed-out highlights.
For portraits, food and product photos, soft side light from a window often works better than direct overhead light. For outdoor portraits, early morning and late afternoon usually give more flattering light than midday sun. On a bright day, move people into open shade rather than asking them to squint into the sun.
Avoid mixing too many light sources. A photo lit by daylight, ceiling bulbs and coloured LED lights can be difficult to edit because each light has a different colour.
4. Tap to focus and adjust exposure
The iPhone camera automatically focuses and exposes the scene, but it does not always know what you care about. Tap the subject to move focus where you want it. Then drag the exposure control up or down if the photo looks too bright or too dark.
This is especially useful when photographing:
- Faces against a bright window
- Sunsets and skies
- Food on a dark table
- Products on white backgrounds
- Pets with dark fur
- Stage or concert lighting
A small exposure reduction often improves skies, white clothing and bright backgrounds. It is easier to brighten shadows later than to recover a completely blown-out highlight.
5. Move your feet before you zoom
Zoom is useful, but it should not be your first solution. If you can safely move closer, do that before relying on heavy zoom. On iPhones with multiple cameras, the built-in lens options can give you wide, standard and telephoto perspectives, depending on model.
Use wider views for landscapes, interiors and groups. Use the standard camera for most everyday photos. Use a telephoto option, where available, for portraits, details and distant subjects. Be careful with heavy digital zoom because it can reduce detail and make the photo look over-processed.
6. Use Portrait mode with restraint
Portrait mode can make people, pets and objects stand out by softening the background. Apple’s Portrait mode guidance explains that supported iPhones capture depth information, and some photos taken in Photo mode can have portrait effects applied later when the depth button appears.
Portrait mode works best when the subject has clear edges and is separated from the background. It can struggle with hair, glasses, fingers, plants, fur and complex outlines. Take one Portrait mode photo, then take a normal Photo mode version as a backup.
For stronger portraits, place the subject near a window, turn their face slightly towards the light, and keep the background simple. Good light will do more for the portrait than maximum blur.
7. Hold still for Night mode
Night mode automatically brightens low-light photos on supported iPhone models. Apple’s Night mode guide explains that the iPhone sets the exposure time automatically, but you can adjust it manually, and a tripod can help capture more detail.
For better Night mode photos:
- Hold the iPhone as still as possible.
- Brace your elbows against your body.
- Rest the phone on a wall, table or tripod for longer exposures.
- Tap the main subject to focus.
- Reduce exposure slightly if lights are blowing out.
- Ask people to stay still until the capture finishes.
Night mode is excellent for streets, buildings, interiors and quiet scenes. It is less effective for fast-moving people, pets or vehicles because the longer exposure can blur movement.
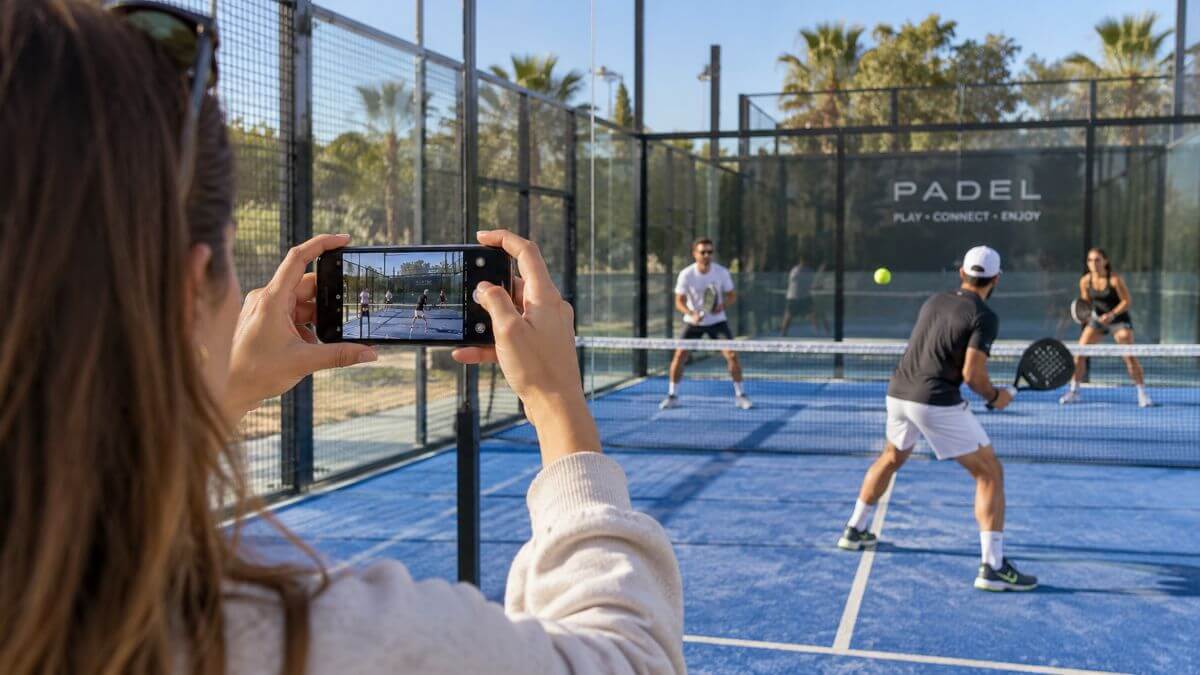
8. Use Burst mode for action
When photographing children, pets, sport or anything unpredictable, one tap may miss the best moment. Apple’s Burst mode guidance explains that Burst mode captures multiple high-speed photos so you can choose the best frame afterwards.
Use Burst mode for:
- Children running or jumping
- Dogs catching a ball
- Sport and fitness shots
- Street scenes with movement
- Group photos where someone may blink
Do not keep every frame. After the burst, select the strongest photo and delete the rest. This keeps your library manageable and makes it easier to find good images later.
9. Try Macro mode for close-up detail
On supported models, Apple says the iPhone uses the Ultra Wide camera for macro photography and can focus as close as 2 centimetres from the subject. See Apple’s macro photography guidance.
Macro works well for flowers, insects, food textures, jewellery, fabric, handwriting, leaves, shells and small product details. The closer you get, the more important steadiness and light become.
If the image looks blurry, back up slightly or tap the subject. Do not block your own light with the phone. For food or product close-ups, try moving the subject near a window and turning off harsh overhead lighting.
10. Use Photographic Styles before filters
Photographic Styles let you customise the look of photos on supported models. Apple’s Photographic Styles guide explains that you can select a style and refine it later in the Photos app on supported models.
Use styles carefully. A warm, high-contrast look may flatter summer portraits but make food look too orange. A cool style may suit city architecture but make skin look dull. If you are unsure, use Standard or keep the style subtle.
For a consistent Instagram, blog or business look, choose one style and test it in daylight, shade, indoors and at night before using it on every important photo.
11. Use ProRAW only when you need editing flexibility
Apple ProRAW gives supported iPhone Pro models more editing flexibility by retaining more image information. Apple’s ProRAW guidance notes that ProRAW photos have larger file sizes, and supported Pro models can offer 12 MP, 48 MP or HEIF 48 MP options depending on device.
Use ProRAW for:
- Important landscapes
- Travel photos you want to edit later
- High-contrast scenes
- Product photography
- Photos intended for large prints
Do not leave ProRAW on for everything unless you need it. The files can quickly fill storage. For everyday snapshots, HEIF or JPEG is usually more practical.
12. Compose with a clear subject
Many weak phone photos fail because there is no clear subject. Before taking the picture, ask: what is this photo about? A person, a plate of food, a doorway, a dog, a skyline, a coffee cup, a sunset, a detail?
Once you know the subject, remove distractions from the frame. Move closer. Change angle. Wait for a person to walk out of the background. Tilt the phone slightly or step sideways. Small movements can turn a cluttered snapshot into a cleaner photograph.
Use foreground, background and negative space deliberately. A doorway can frame a person. A table edge can lead towards food. Empty sky can make a silhouette stronger. Good composition is often the art of leaving things out.
13. Take better food photos with window light
Food often looks best in soft natural light from the side. Place the dish near a window, turn off yellow ceiling lights and avoid using the flash. Tap the food to focus, then reduce exposure slightly if white plates or shiny sauces look too bright.
For flat lays, turn on the level and shoot from directly above. For burgers, cakes, drinks and layered dishes, shoot from the side or at a 45-degree angle so the height and texture are visible.
Add context, but keep it controlled: a fork, napkin, glass, hand, ingredient or chopping board can help. Too many props make the photo feel crowded.
14. Take better travel and landscape photos
For landscapes, use the grid and level, avoid tilted horizons and include a foreground element when possible. A person, rock, path, wall or café table can give the scene scale.
Do not take only wide views. A strong travel set includes:
- Wide landscapes
- Street scenes
- People and portraits
- Food and drink
- Details such as signs, tiles, doors or textures
- Night scenes
- One quiet moment that feels personal
Use Pano mode for wide scenes when one frame is not enough. Apple’s Pano mode guidance recommends panning slowly and keeping the arrow on the centre line.
15. Take better selfies and group photos
For selfies, look for clean light first. Face a window, stand in open shade or turn so the strongest light is not directly overhead. Hold the phone slightly above eye level, but not so high that the angle looks unnatural.
For group photos, use the timer so everyone can settle before the shot. Apple’s camera tools include 3-second, 5-second and 10-second timer options. Put the phone on a stable surface or tripod, tap the group to focus, and take several versions because someone will almost always blink.
16. Edit lightly in the Photos app
The best edit improves the photo without making it look fake. Apple’s Photos editing guidance explains that you can adjust photos and videos, crop or rotate them, apply filters, edit Photographic Styles on supported models, and copy edits to other photos.
A simple editing order is:
- Straighten the horizon.
- Crop out distractions.
- Adjust exposure and brilliance.
- Reduce highlights if bright areas are harsh.
- Lift shadows only if needed.
- Adjust warmth if the colour feels too yellow or too blue.
- Add a little definition or sharpness, but avoid overdoing it.
Avoid heavy filters on skin, food and skies. Over-edited iPhone photos often look crunchy, orange, grey or unnaturally smooth.
17. Save camera settings you use often
If you often use the same mode or settings, Preserve Settings can stop Camera from resetting every time you open it. Apple’s Preserve Settings guidance says you can save options such as the last camera mode, Photographic Style, Macro Control, Exposure Adjustment, Night mode, ProRAW and Live Photo depending on model.
This is useful if you regularly shoot in Portrait mode, keep Live Photo off, preserve exposure adjustment, or want ProRAW controls available on supported models.
18. Know when to use Live Photos
Live Photos capture a brief moment before and after the still image, including audio. Apple’s Live Photos guidance explains how they work in the Camera app.
Live Photos are useful for children, pets, laughter, movement, waterfalls, candles and any moment where the best frame may happen just before or after you tap the shutter. They are less useful when you want the smallest file size or need a clean still image for professional use.
Common iPhone photography mistakes
- Not cleaning the lens: the photo looks soft before you even start.
- Using flash too often: direct flash can flatten faces and make food look harsh.
- Standing too far away: the subject gets lost in the frame.
- Overusing digital zoom: detail can fall apart quickly.
- Ignoring the background: bins, signs and clutter distract from the subject.
- Over-editing: too much clarity, saturation or smoothing makes images look artificial.
- Using Portrait mode for everything: fake blur can fail around hair, glasses and objects.
- Forgetting to back up photos: good images are easy to lose if they only live on one phone.
Simple iPhone photo checklist
- Clean the lens.
- Turn on Grid and Level.
- Find the best available light.
- Choose the right lens or camera option.
- Move closer before zooming heavily.
- Tap the subject to focus.
- Adjust exposure before shooting.
- Check the background.
- Take more than one frame.
- Edit lightly and back up the final image.
Frequently asked questions
What is the best iPhone camera setting for everyday photos?
Use Photo mode with Grid and Level turned on, tap to focus, and adjust exposure if the scene is too bright or too dark. For most everyday photos, this matters more than using advanced formats.
Should I use Portrait mode or normal Photo mode?
Use Portrait mode when you want a person, pet or object to stand out from the background. Use normal Photo mode when edges are complex, several people are in the frame, or you want a more natural documentary look.
How do I stop iPhone photos looking too bright?
Tap the subject, then drag the exposure control slightly down before taking the photo. This is especially useful for skies, windows, beaches, snow, white clothing and bright plates.
Is ProRAW worth using?
ProRAW is worth using on supported Pro models when you want maximum editing flexibility for important photos. It is usually unnecessary for everyday snapshots because the files are much larger.
How do I take sharper iPhone photos at night?
Use Night mode on supported models, hold the iPhone still, brace your elbows, rest the phone on a stable surface if possible, and ask people to stay still until the capture finishes.
Can iPhone photos be good enough for a website or blog?
Yes. Good light, clean composition, original images and careful editing can make iPhone photos strong enough for blogs, small business websites and social media. Use the correct image size and add descriptive alt text when publishing online.
Final thoughts
Taking better iPhone photos is mostly about slowing down. Clean the lens, check the light, choose the right position, tap to focus, adjust exposure and look at the background before pressing the shutter.
Use the iPhone’s camera features when they solve a real problem: Night mode for low light, Portrait mode for subject separation, Burst mode for movement, Macro for close details and ProRAW for serious editing. The phone can do a lot, but the strongest photographs still come from seeing clearly before you shoot.
